All IT solutions menus
- Getting started
- Business overview
- Sales & quotes
- Purchase
- Stores & serials
- Projects & installation
- Service & AMC
- Accounts & GST
- Team, attendance and payroll
- The Zenoziva HR app
Getting started
For: Everyone
Each person signs in with their own login and sees only the menus for their work. A salesperson sees Sales & quotes; the storekeeper sees Stores & serials; the owner sees the whole business.
Videos
Find your way around 0:49
Your desktop, your menus, lists and search.
Transcript
Hi, I'm Zuzu, your Zenoziva guide. Let's take a quick tour, so you always know where to find things.
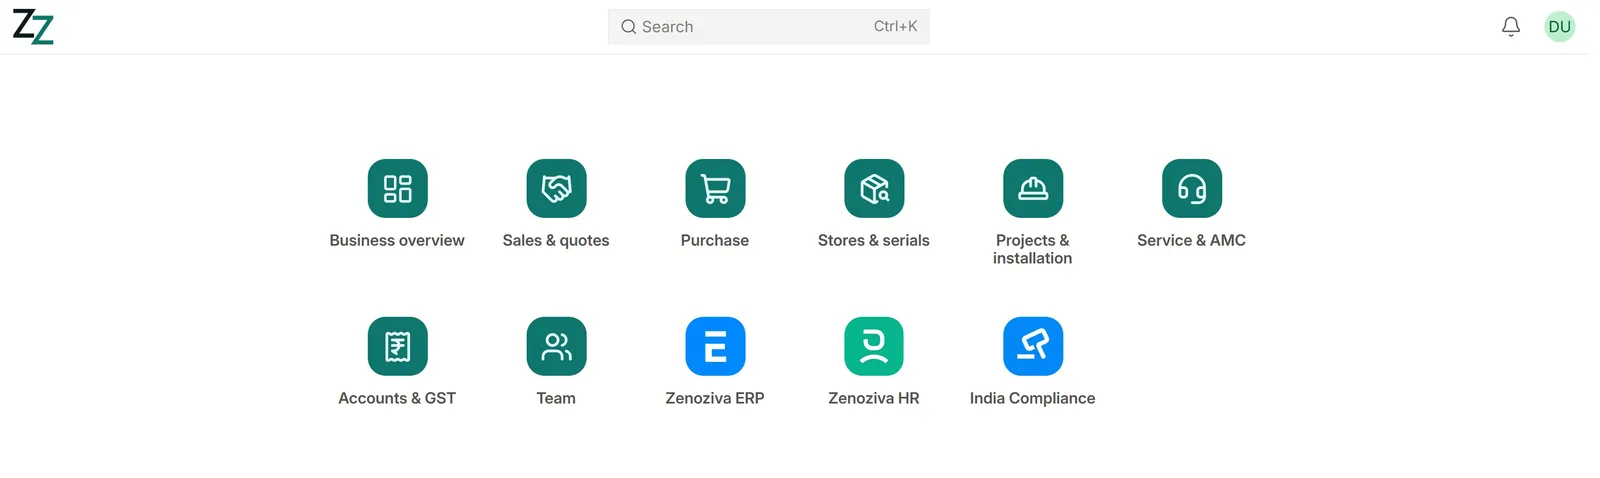
After you sign in, you land on your desktop. Each tile is a menu for one part of the business. You only see the tiles for your own work.
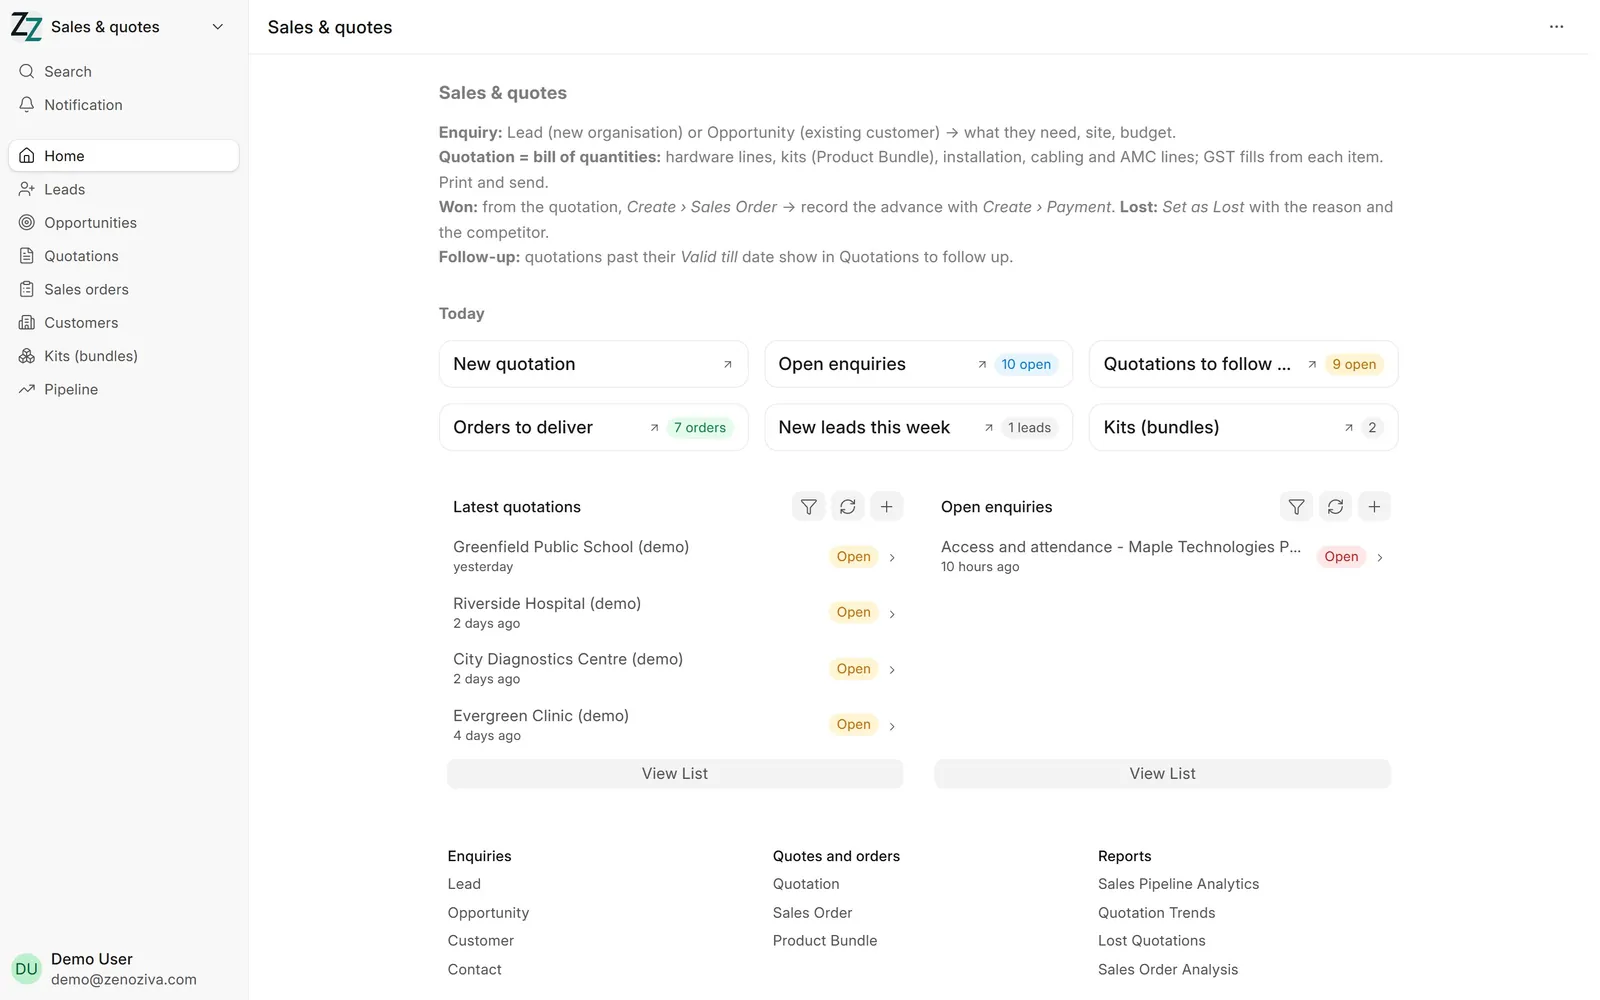
Click a tile to open its menu. At the top, a short note explains how the work flows. The sidebar lists the main screens.
Under Today, the counts are live. Click one, and you see the records behind it.
Every list can be filtered and sorted. Click a row to open it.
To jump to any screen or report, press Ctrl+K and type its name.
That's the tour. Need a hand? Visit zenoziva.com
Step by step
1Sign in#
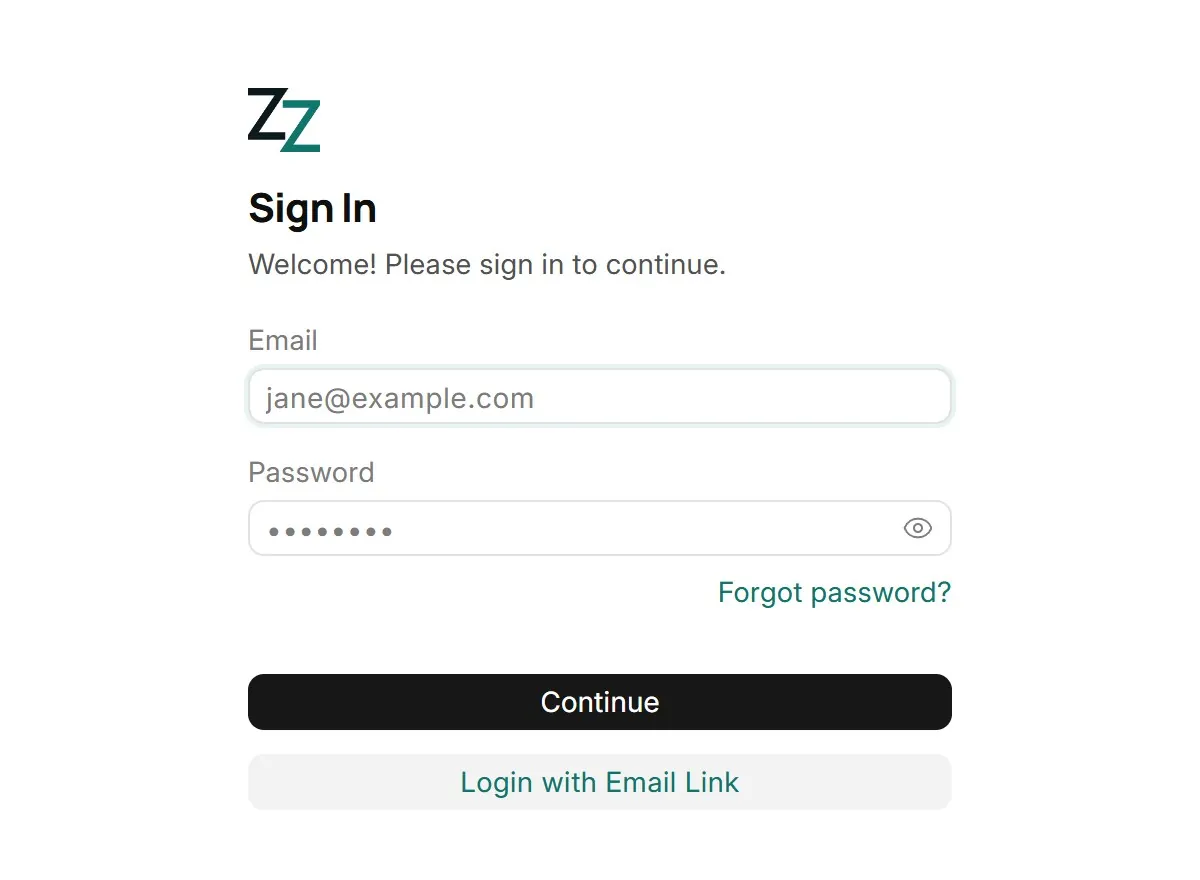
Open your company's ERP address in a browser and sign in with your email and password. Forgot password? sends a reset link to your email. Never share a login: every record shows who made it.
2Your desktop#
One tile per menu you may use: Business overview, Sales & quotes, Purchase, Stores & serials, Projects & installation, Service & AMC, Accounts & GST and Team. Administrators also see the full set of ERP modules. The search bar at the top (Ctrl+K) finds any record, report or screen by name.
3A menu page#
Every menu opens the same way: a short note on how the work flows, Today with live counts (click one to open the records behind it), the latest records, and links to every list and report of that desk. The sidebar on the left lists the main screens of that menu.
4Lists#
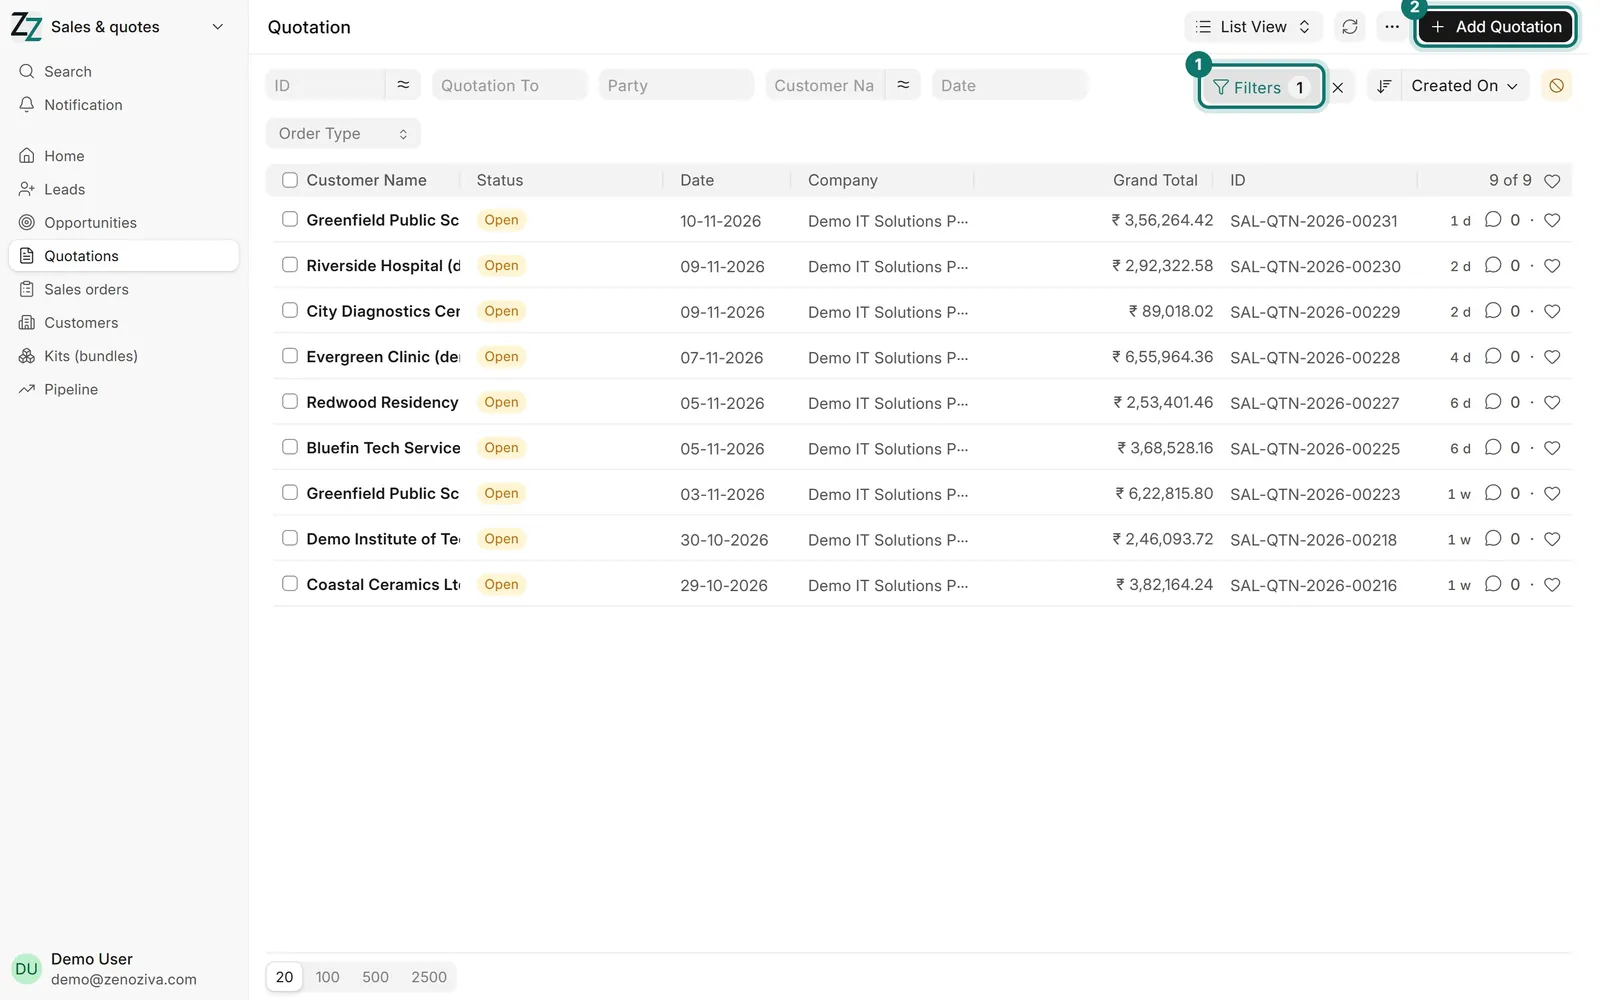
Each sidebar item opens a list. Type in the boxes at the top to filter, use Filters (1) for more conditions, sort by any column, and click a row to open it. Add Quotation (2), or the matching button on any list, starts a new record.
5One record leads to the next#
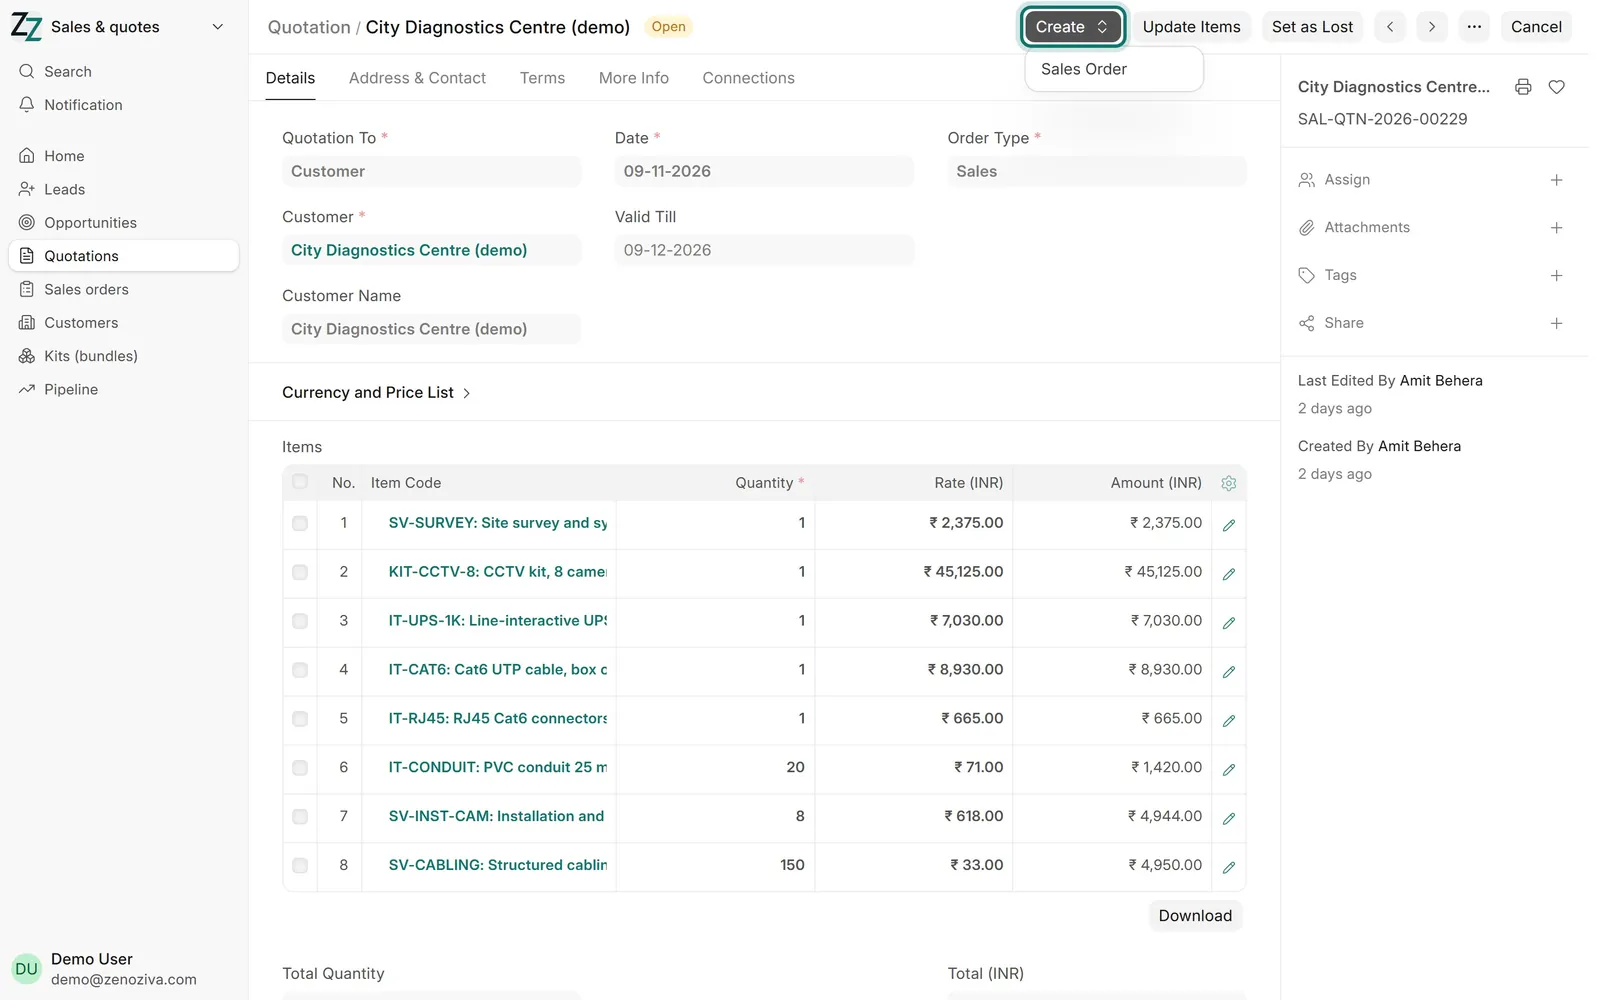
Most work moves forward from the record you are on: Create lists the next steps. Here a quotation becomes a Sales Order in one click, with its customer, items and prices copied across. Nothing is typed twice.