All Hospital menus
- Getting started
- Front desk: registration and appointments
- Doctor: consultation and orders
- Admission and ward care
- Casualty and emergency
- Laboratory and imaging
- Operation theatre
- Discharge
- Billing, insurance and TPA
- Management reports
- On the phone: Zenoziva Care and Zenoziva HR
- Setting up your hospital
Front desk: registration and appointments
For: Front desk, reception
Our guide patient, Kiran Rout, walks in with fever and cough. The front desk registers him and books an outpatient (OPD) appointment with a physician.
New here? Start with Getting started.
Step by step
1Register the patient#
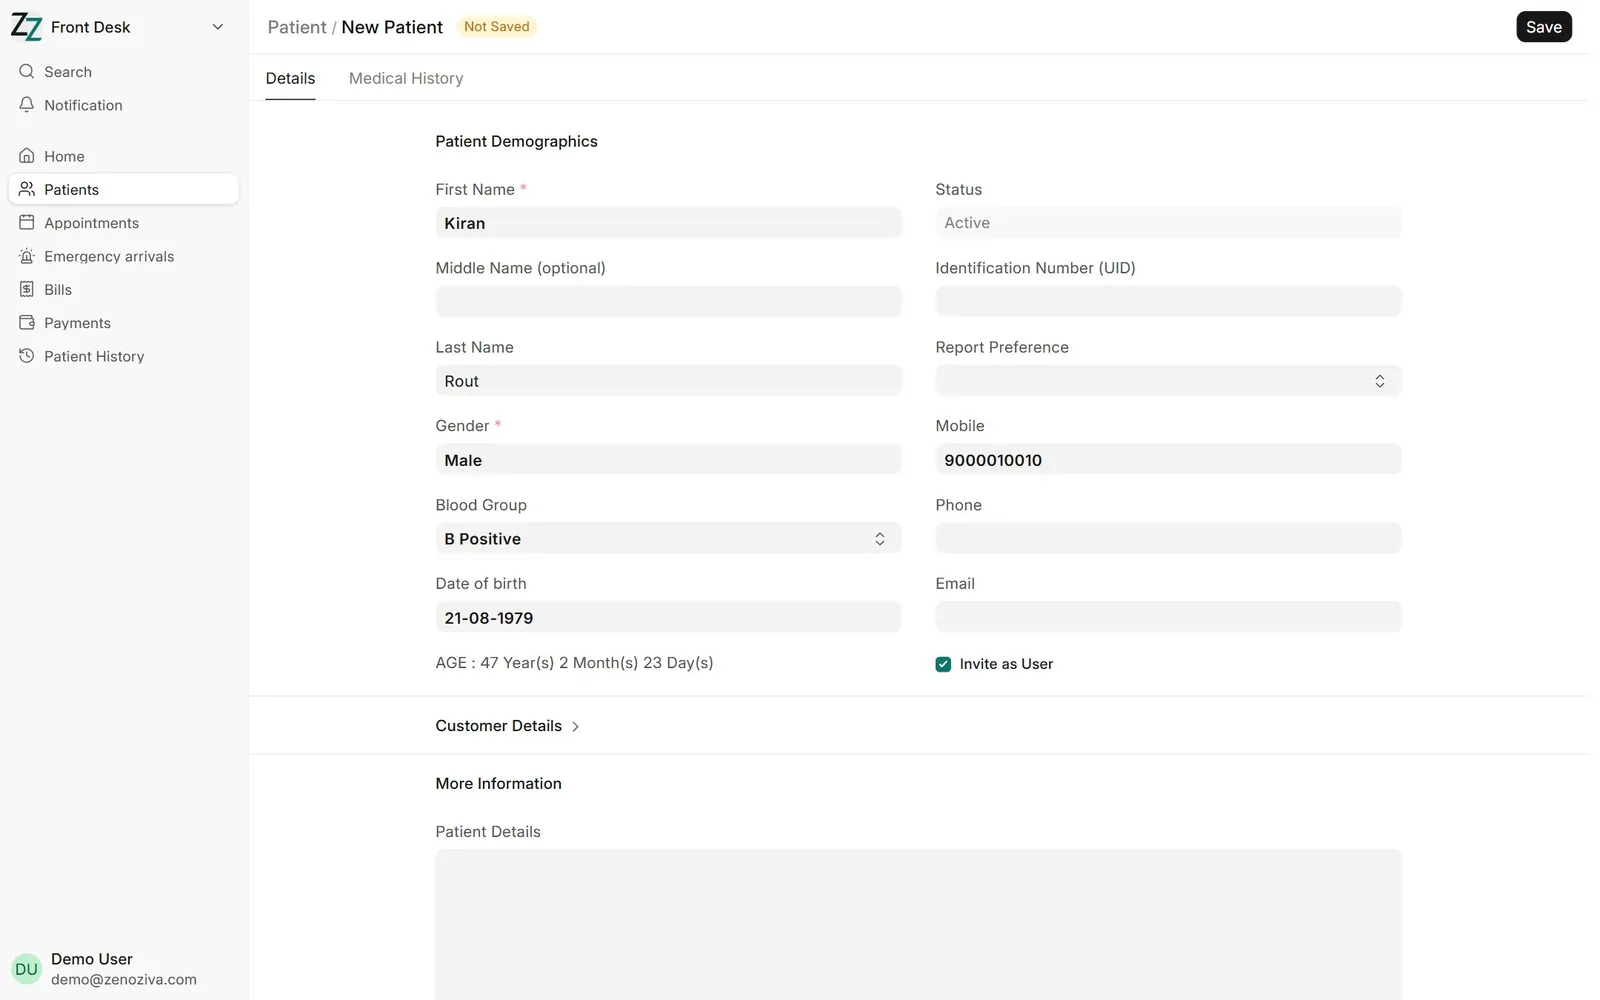
Front Desk › Patients › + Add Patient. Enter name, sex, date of birth and mobile number. Blood group, address, ID numbers and emergency contact can be added now or later.
2The patient record#
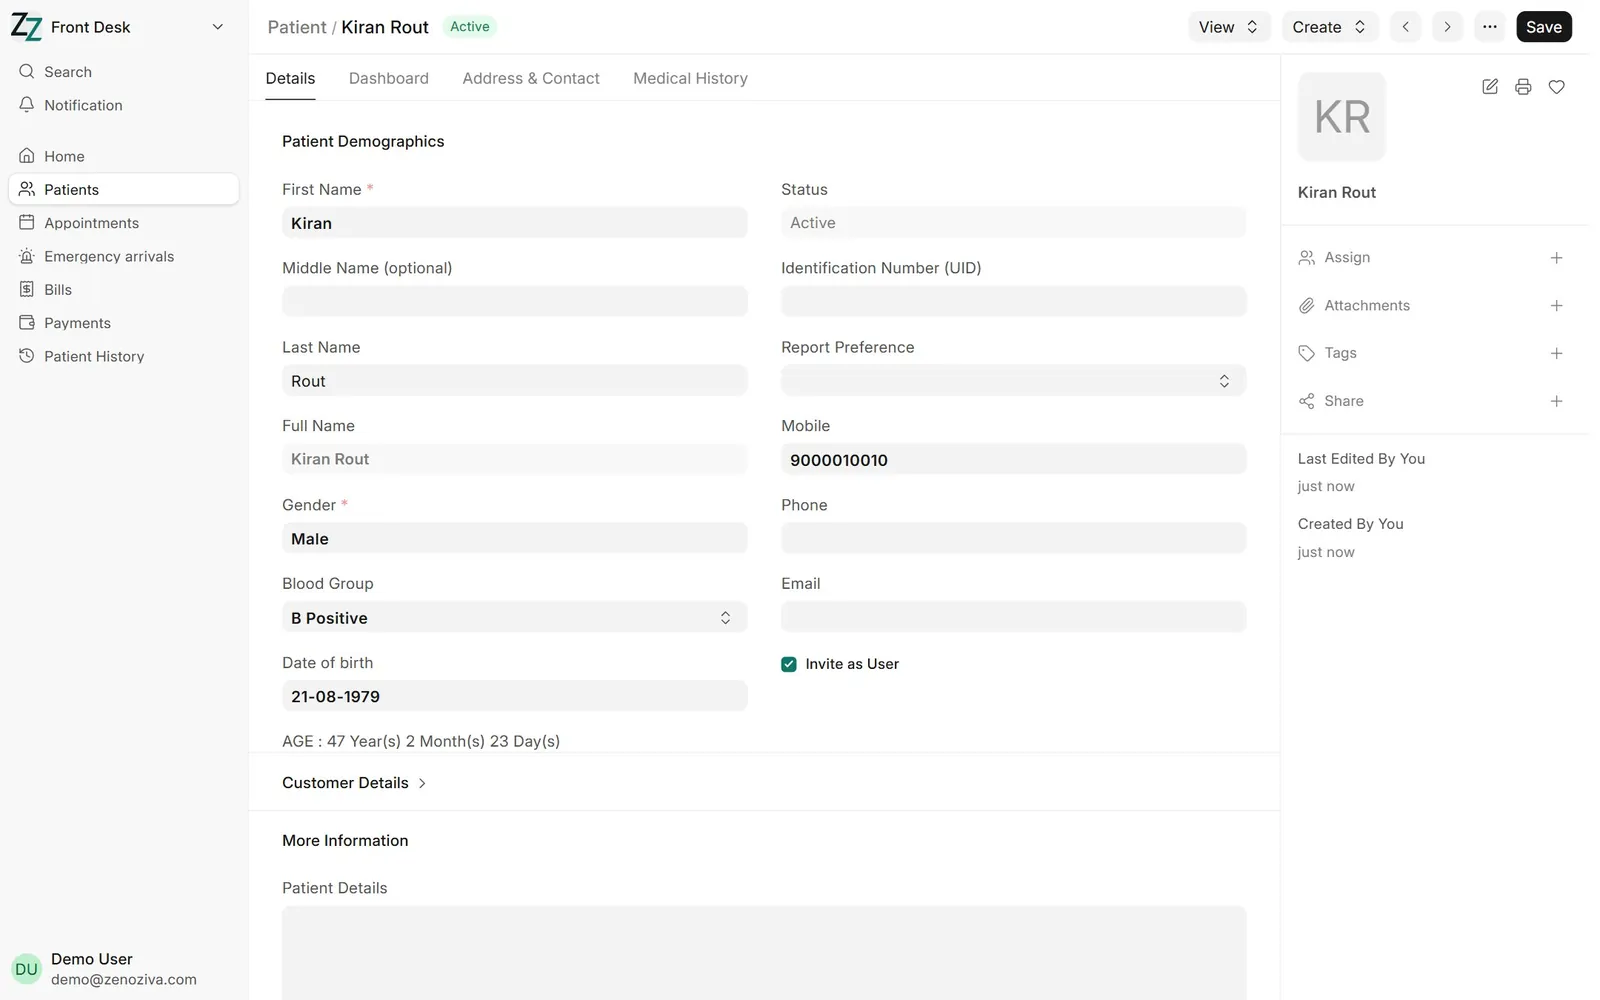
Saving gives the patient a unique ID. The record is the patient's file for life: every visit, admission, test, note and bill links back to it.
3Book an appointment#
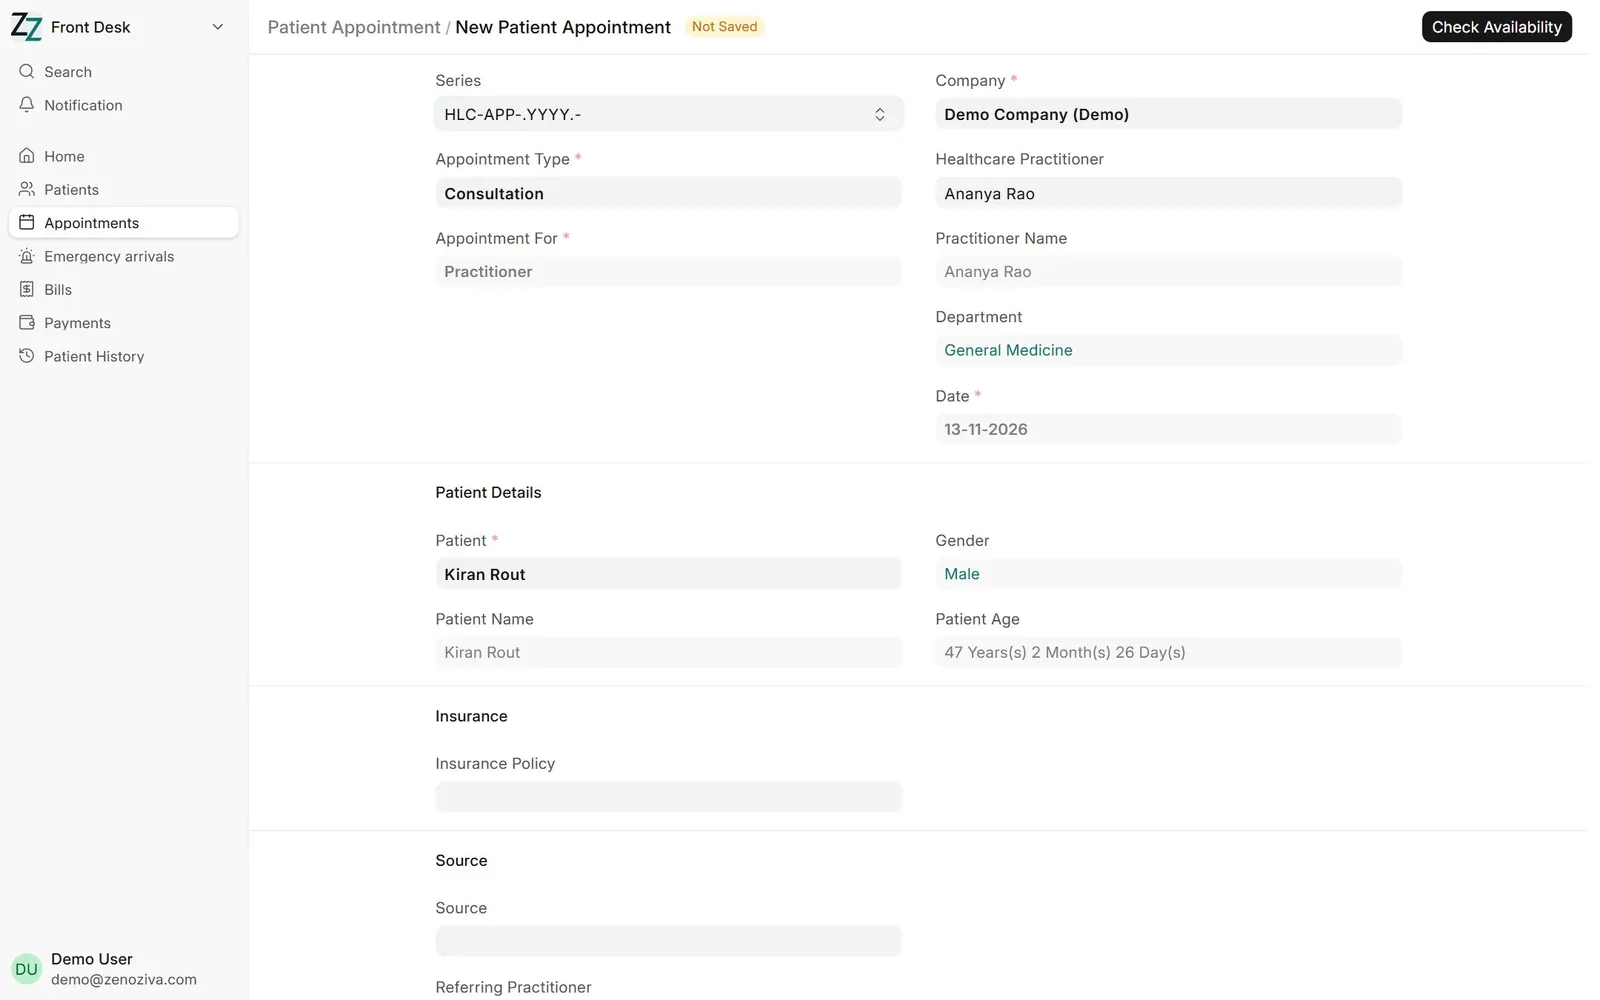
Front Desk › Appointments, then add a new one. Choose the patient, the doctor and the date.
4Pick a free slot#
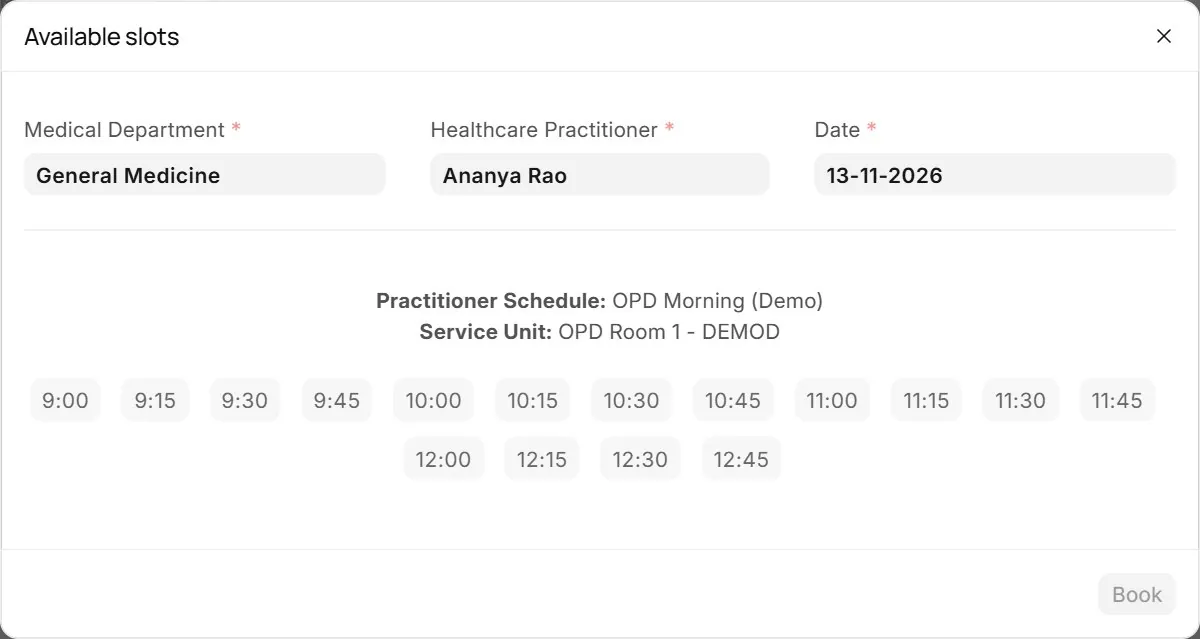
Check Availability shows the doctor's free slots for that day from their timetable. Click a slot to fill the time.
5Appointment booked#
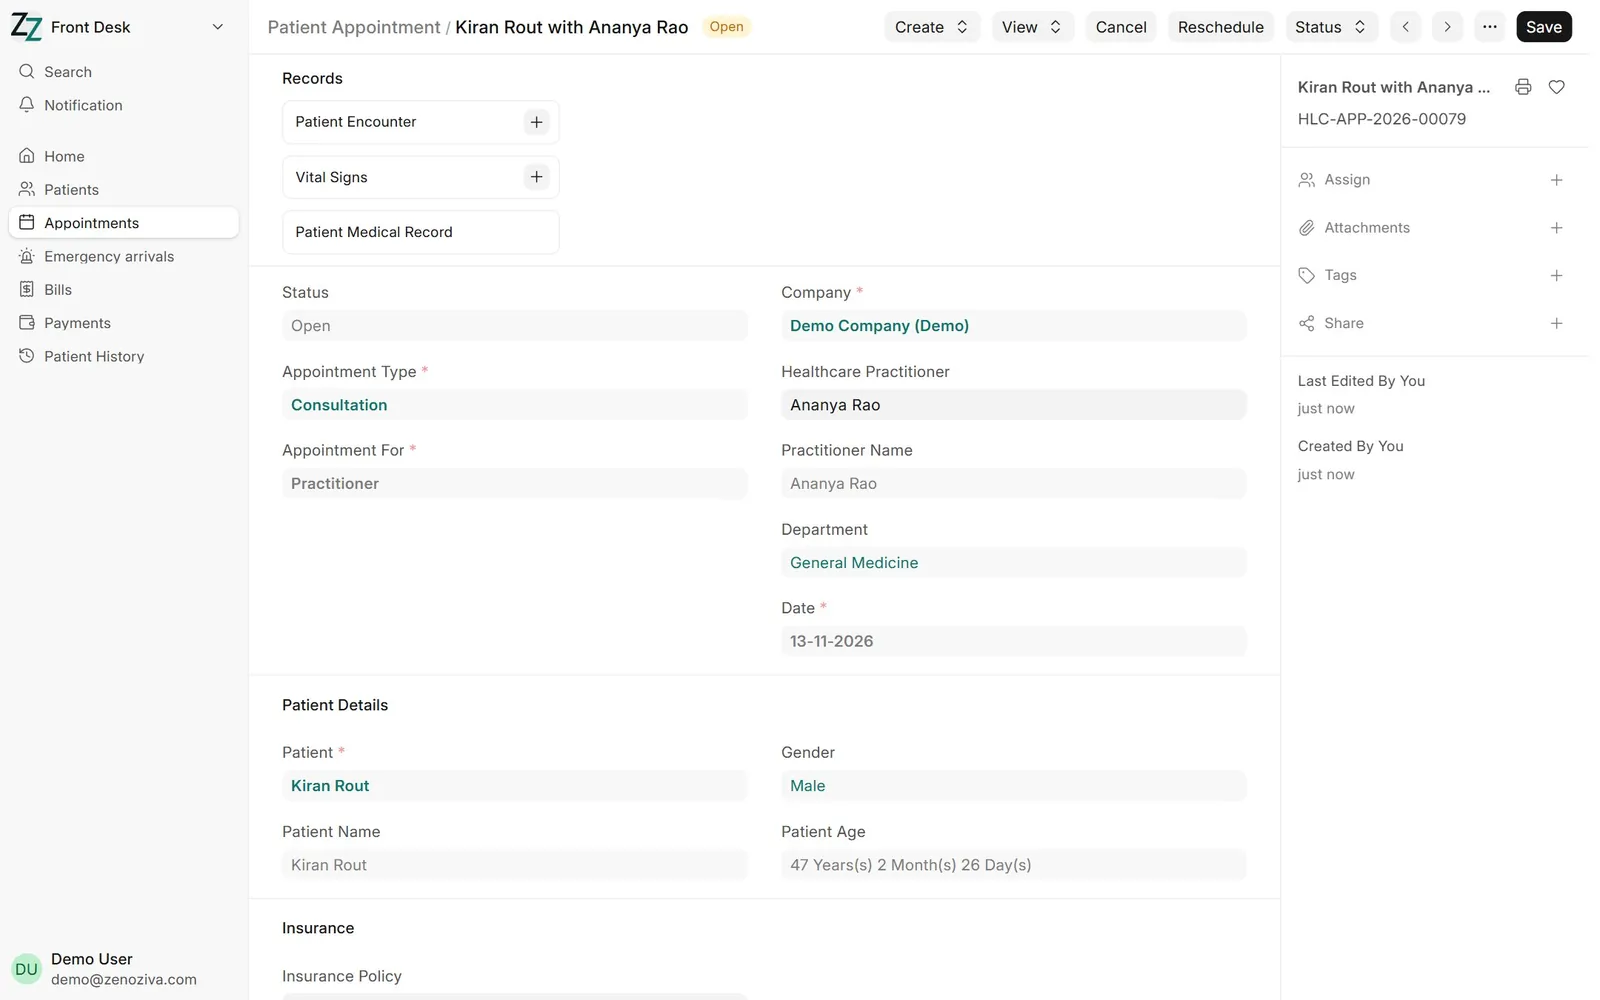
Once saved, the appointment appears in the doctor's OPD list for that day. If the consultation fee is collected now, use Create Invoice; otherwise it is billed later.
6Insured patients#
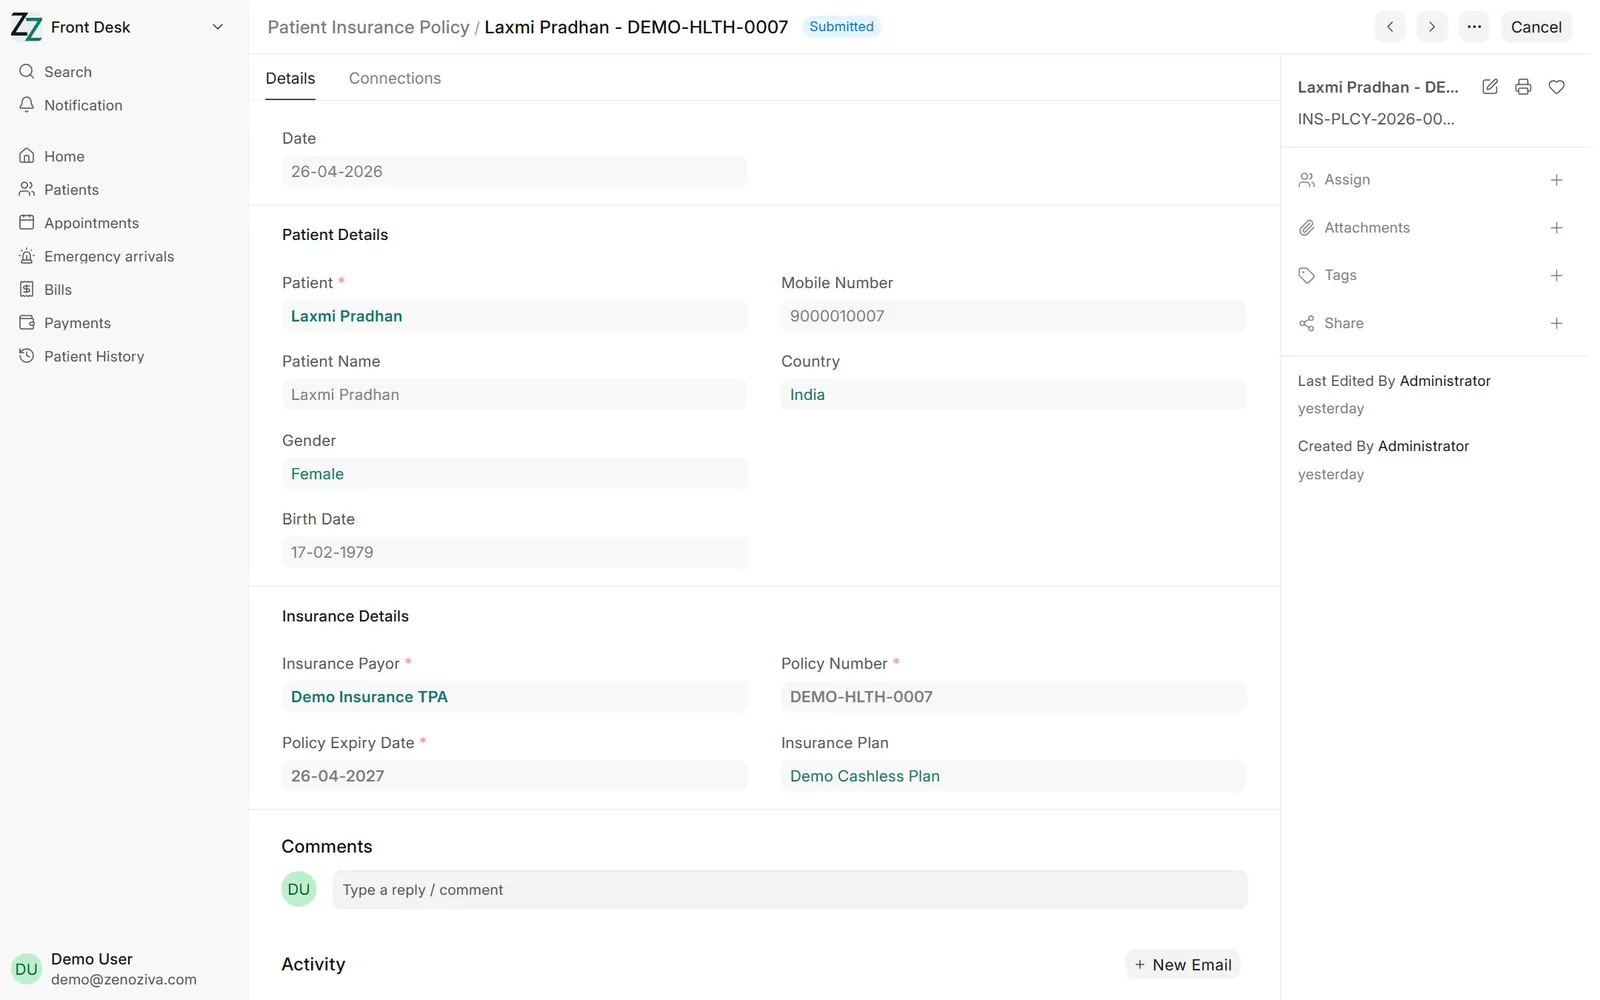
For a patient with insurance or a TPA card, add a Patient Insurance Policy: insurer, plan, policy number and validity. Bills for this patient are then split between the patient and the insurer automatically (chapter 9).