All Hospital menus
- Getting started
- Front desk: registration and appointments
- Doctor: consultation and orders
- Admission and ward care
- Casualty and emergency
- Laboratory and imaging
- Operation theatre
- Discharge
- Billing, insurance and TPA
- Management reports
- On the phone: Zenoziva Care and Zenoziva HR
- Setting up your hospital
Getting started
For: Everyone
Each person signs in with their own login. What they see depends on their role: a nurse sees the Nursing, Casualty and OT menus; the front desk sees Front Desk and Billing; managers see everything.
Step by step
1Sign in#
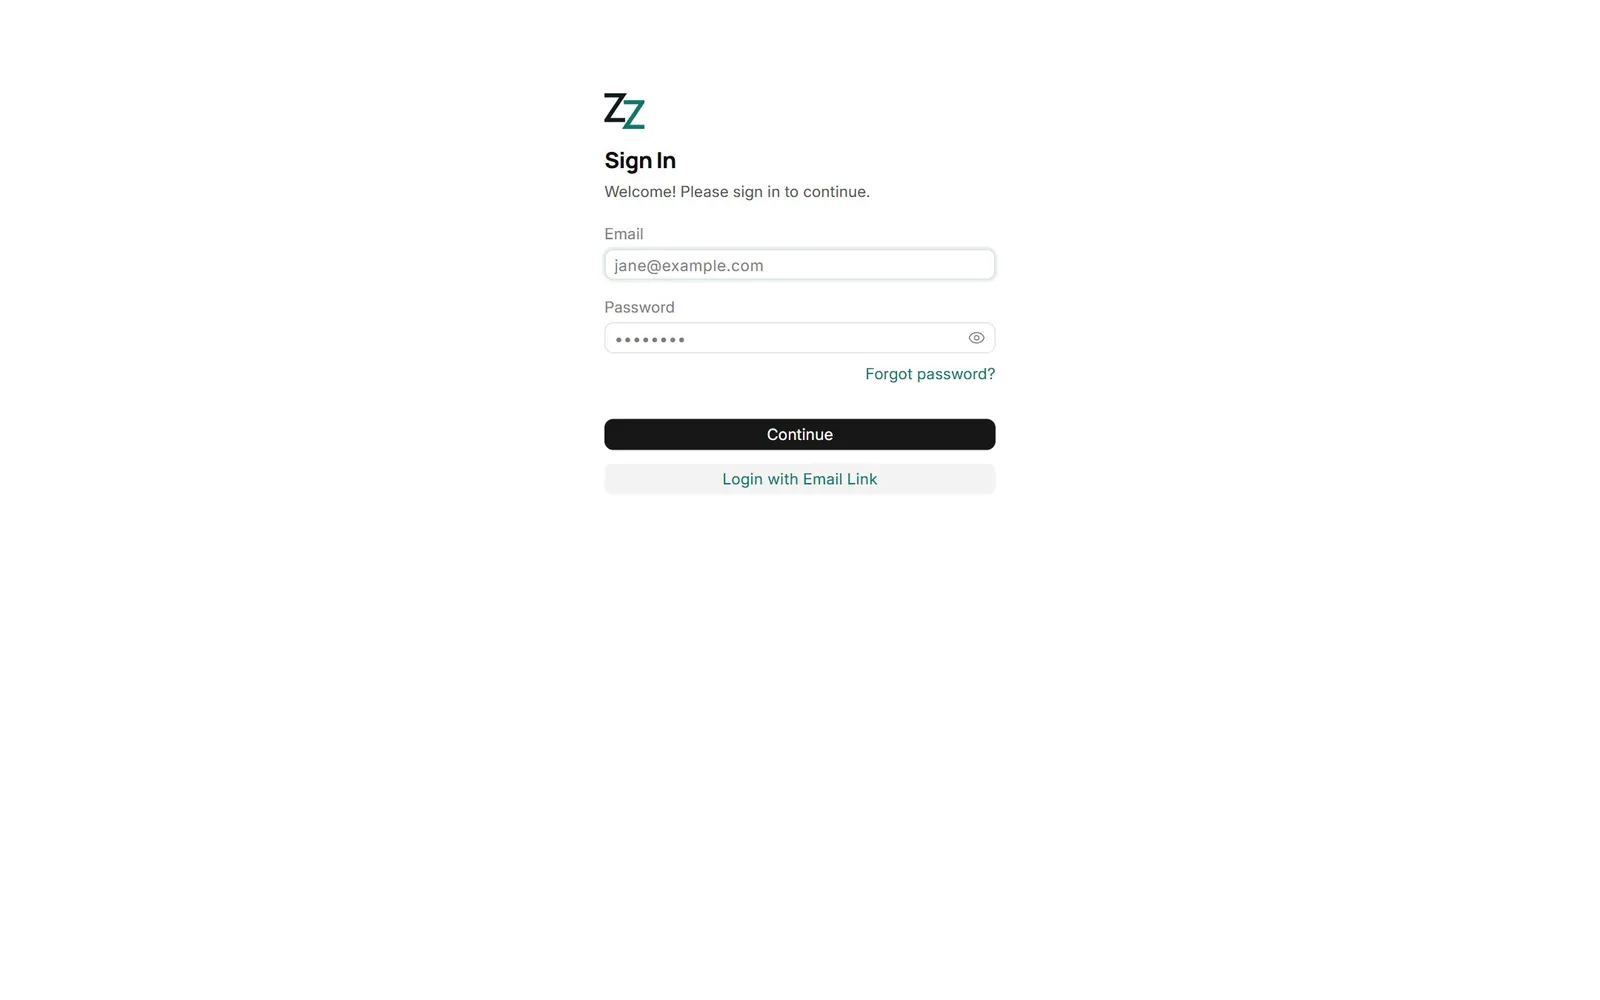
Open your hospital's ERP address in a browser and sign in with your email and password. Ask your administrator for a login; never share one.
2Your desktop#
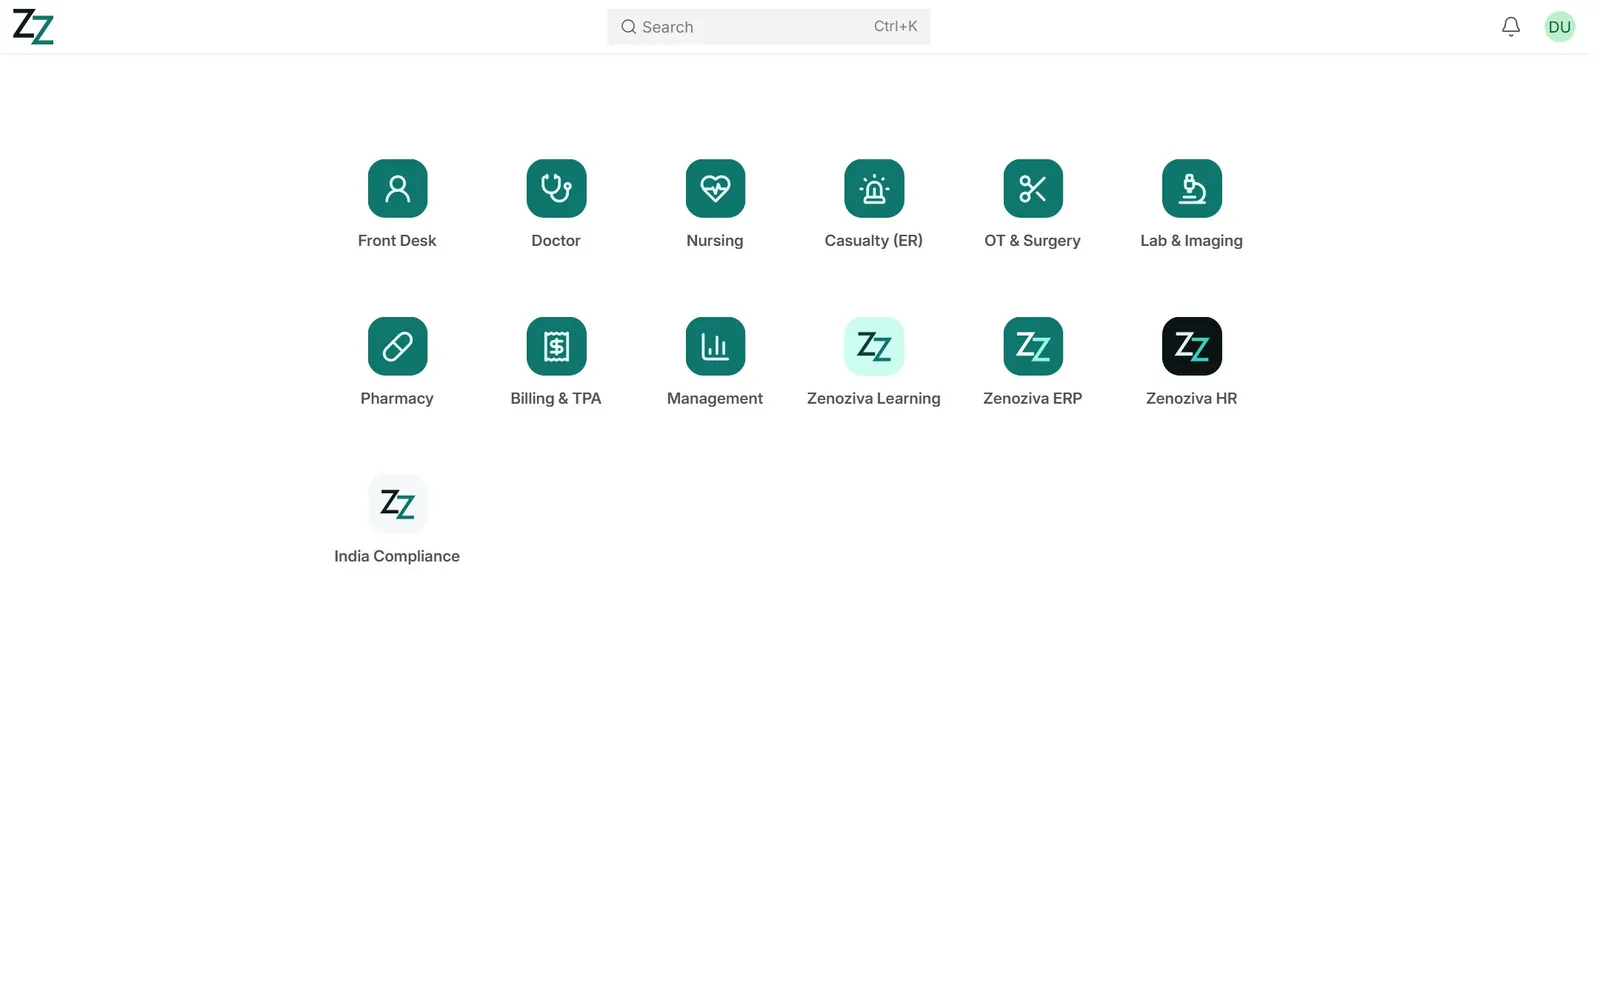
After signing in you see the desktop: one tile per menu you are allowed to use. The hospital menus come first: Front Desk, Doctor, Nursing, Casualty (ER), OT & Surgery, Lab & Imaging, Pharmacy, Billing & TPA and Management.
3Inside a menu#
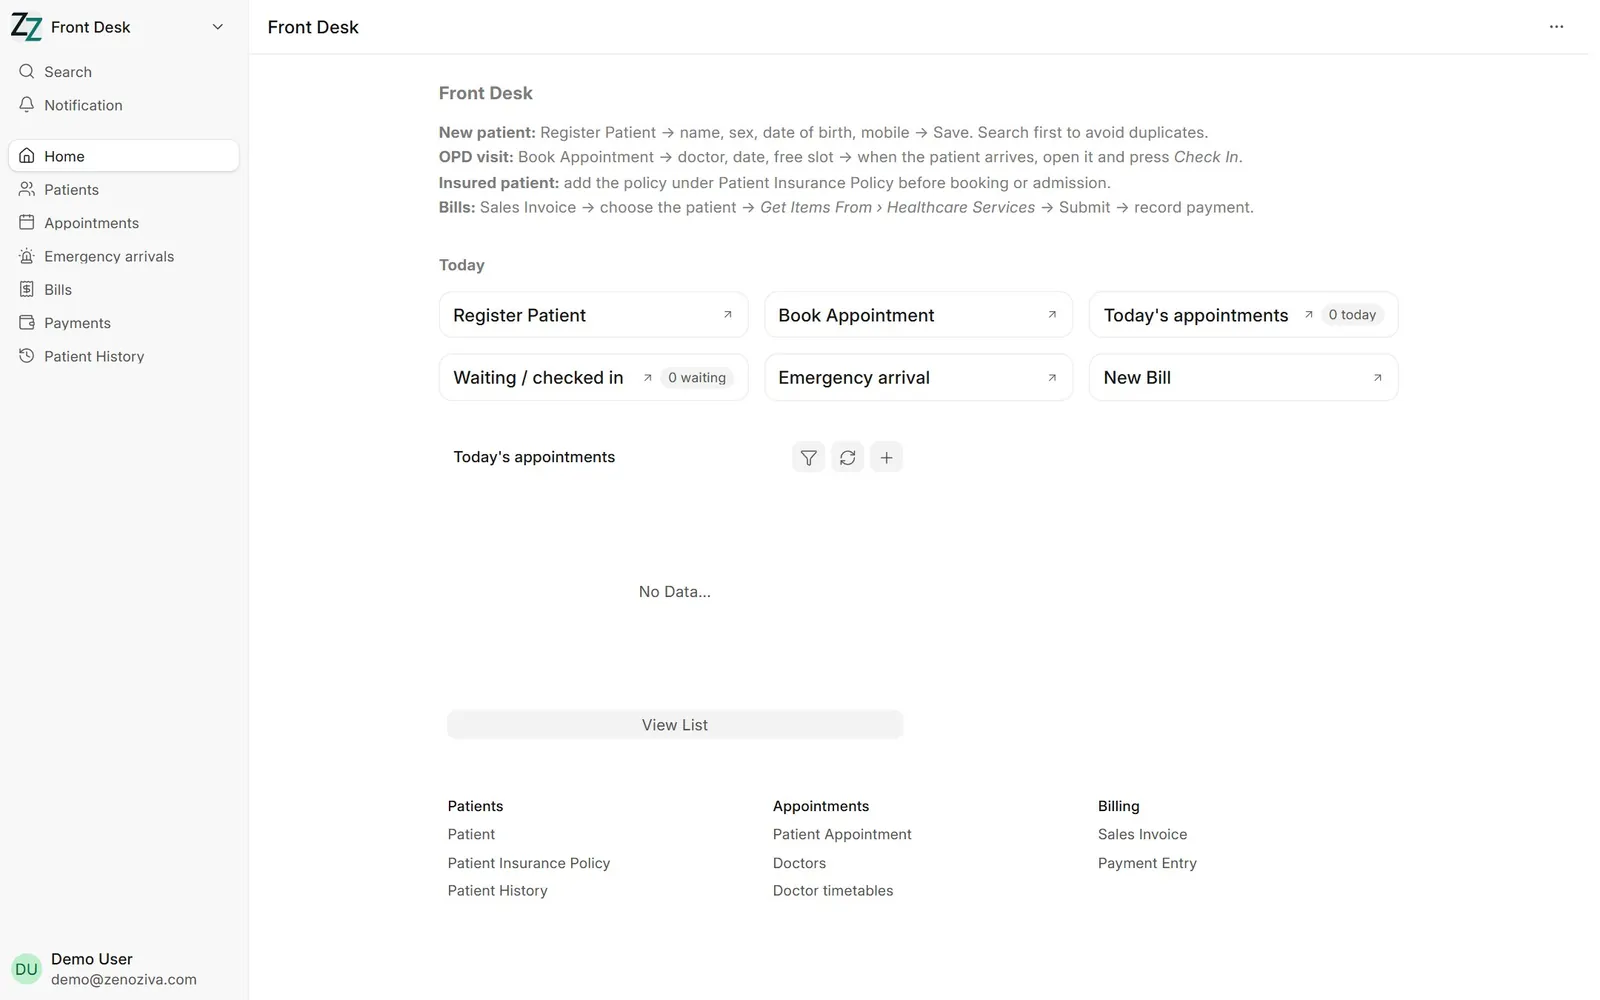
Click a tile to open its menu. The left sidebar lists everything for that desk, grouped by task. The main area has shortcuts to the screens used most.
4Lists and records#
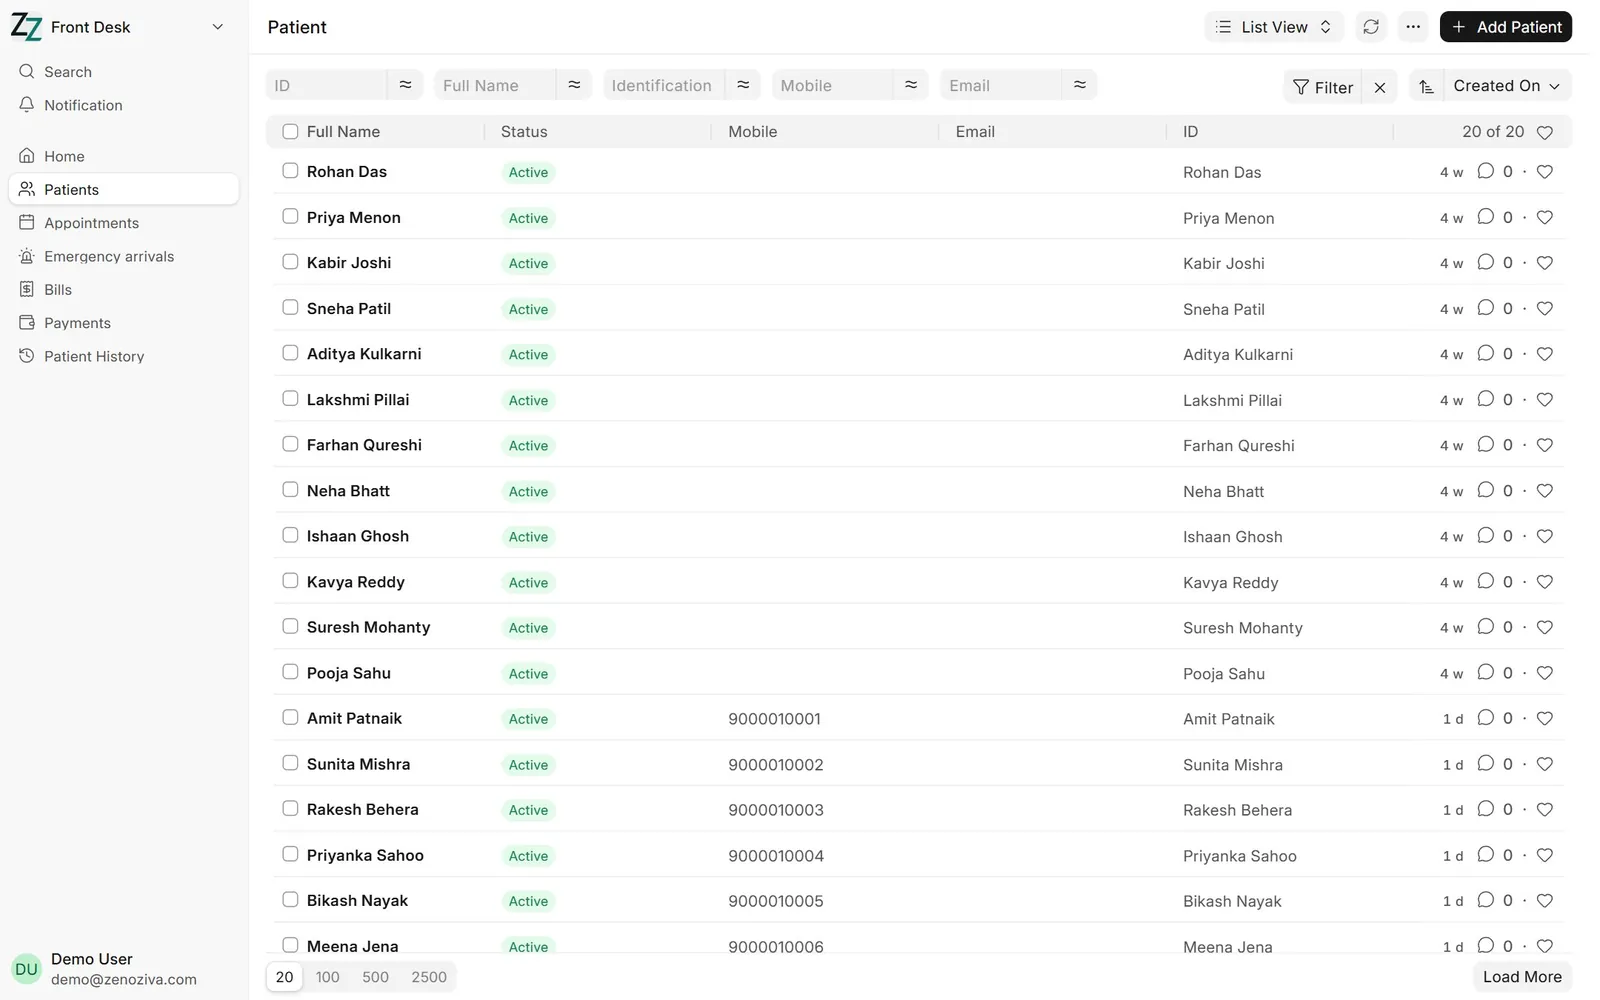
Every list can be searched, filtered and sorted. Click a row to open the record; use + Add at the top right to create a new one. Records save with Ctrl+S.